Homemade Elderberry Syrup Recipe for Immune Health
This elderberry syrup recipe can be used to naturally support your immune system during cold and flu season. Learn how to make this natural remedy and store it in the freezer to easily use whenever needed.
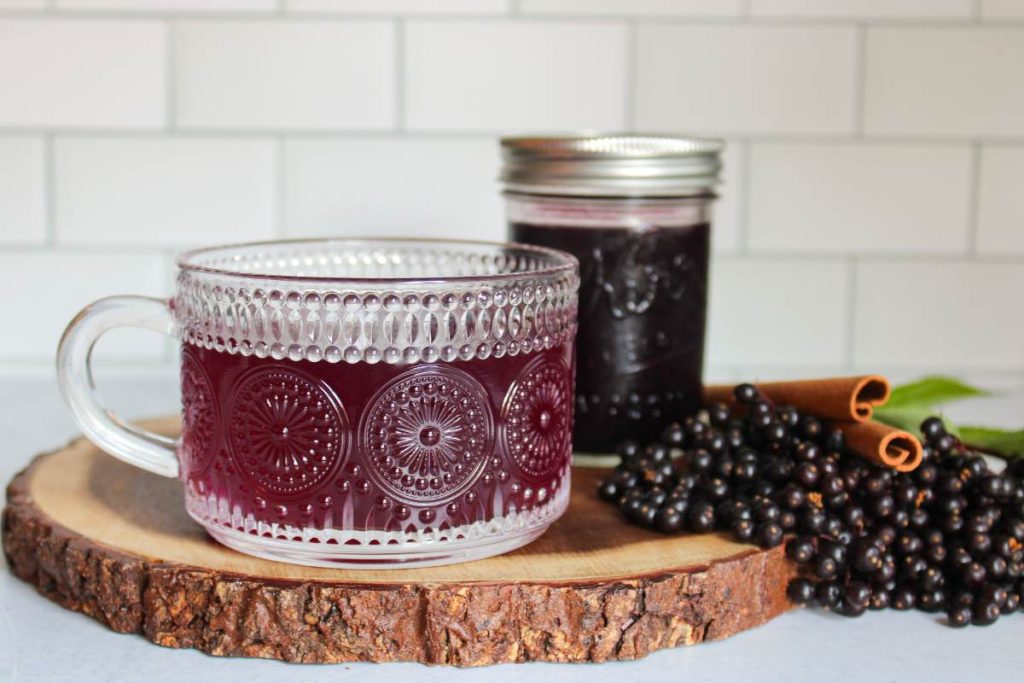
I have elderberry bushes in my yard, so toward the end of summer I stock up on homemade elderberry syrup so I have it to use for immune health during cold and flu season. It is so easy to make and actually tastes really delicious too, unlike traditional cold medicine! It has amazing health properties, but it can also be used to drizzle on baked goods, pancakes, or ice cream.
When I was in school, I studied herbalism and natural remedies. It has always amazed me the power plants and foods have on our bodies! And while I do believe there is a time and place for modern medicine, I think we should always utilize natural remedies first, especially for things like supporting our immune systems.
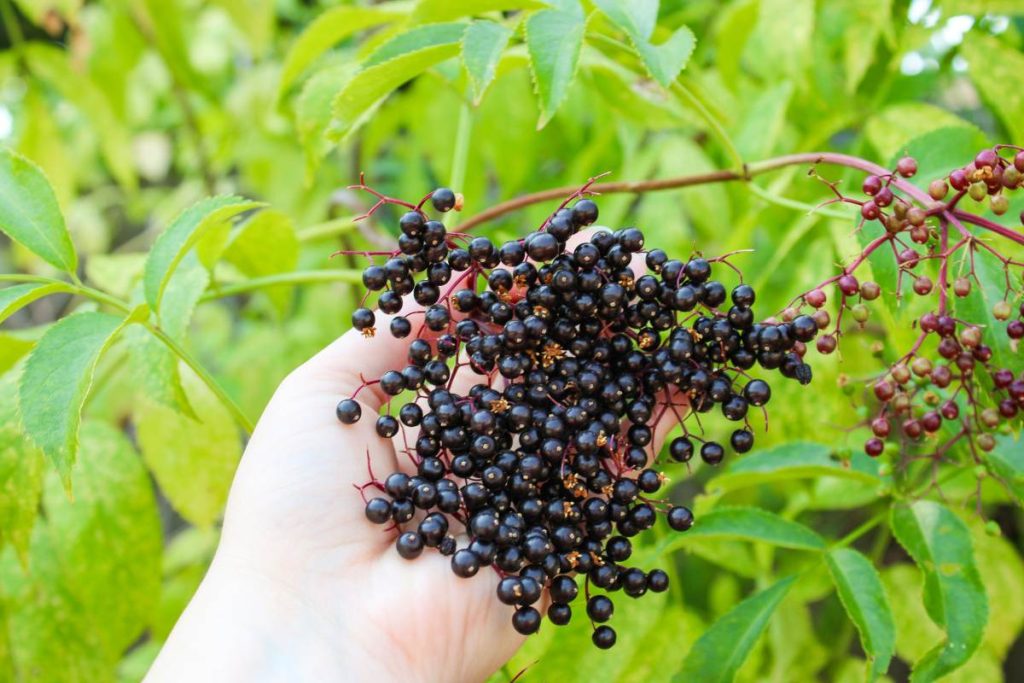
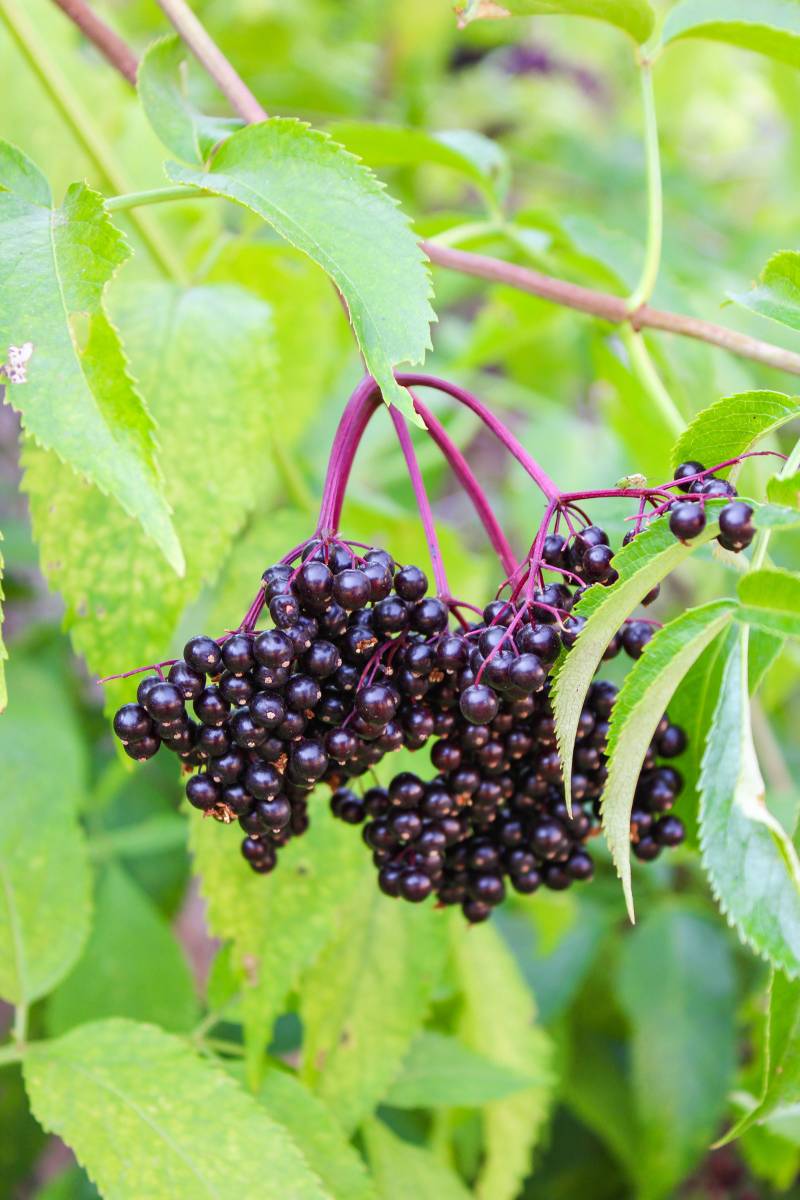
I live in a house with a pretty big yard, and the previous homeowners of our house planted lots and lots of different fruit bushes and trees. It has been such a blessing to have a yard that produces things like blueberries, apples, and cherries! We have a row of elderberries, and the first time we saw them we were pretty confused about what they were. I tried one raw and it did not taste good at all! We were ready to remove them, but after I did some investigating, I realized they were elderberries- which are incredible for immune health! I was really excited to be able to make my own elderberry syrup that we could use as a natural cold and flu remedy.
Health benefits of elderberries
The elderberry plant has been used medicinally for over 2000 years, and for good reason! Elderberries are high in compounds that are great for boosting your immune system and have antiviral properties, making them a great natural remedy for cold and flu season! There are many research studies out there that show the effectiveness of elderberries in reducing the length and severity of cold or flu symptoms. One study found that participants who used elderberry felt better on average 4 days earlier than the control group. Pretty amazing, huh?
Elderberries are high in antioxidants which help reduce inflammation and high in vitamin C, among many other nutritional qualities! You can read more about the health benefits of elderberries here.
How to use this Elderberry syrup
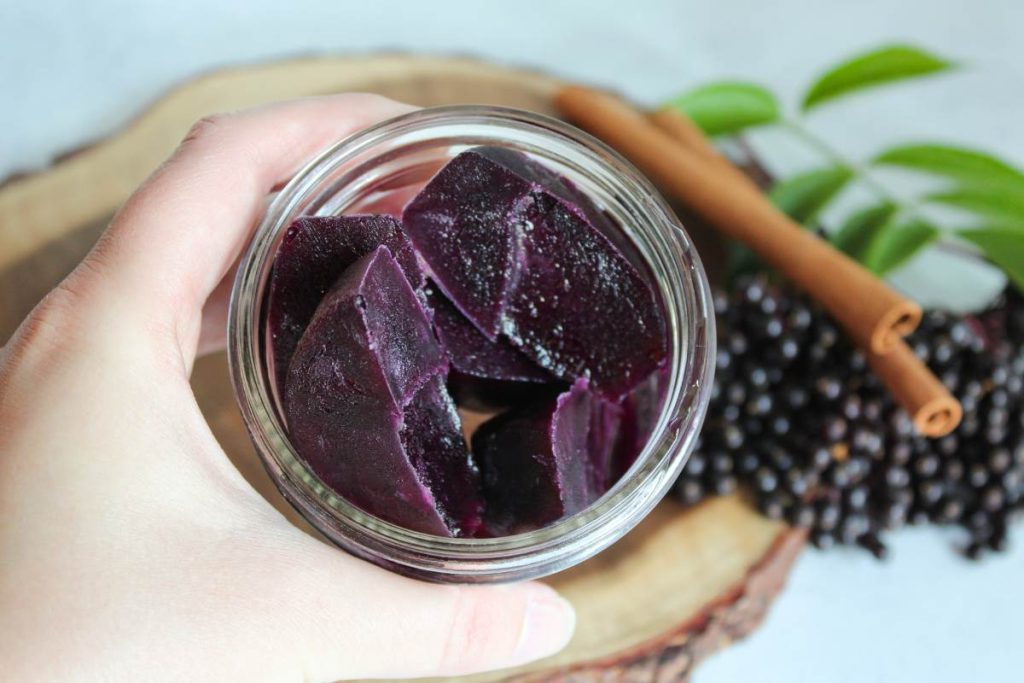
There are a variety of ways you can this elderberry syrup to get the health benefits. You can simply take a tablespoon or so with a spoon, or you can use it as a sweetener for tea. I like to just add it to warm water, or you can also add it to an herbal tea. I like to freeze it in ice cube trays so it is already pre-portioned to add to warm water or tea.
Can you freeze elderberry syrup?
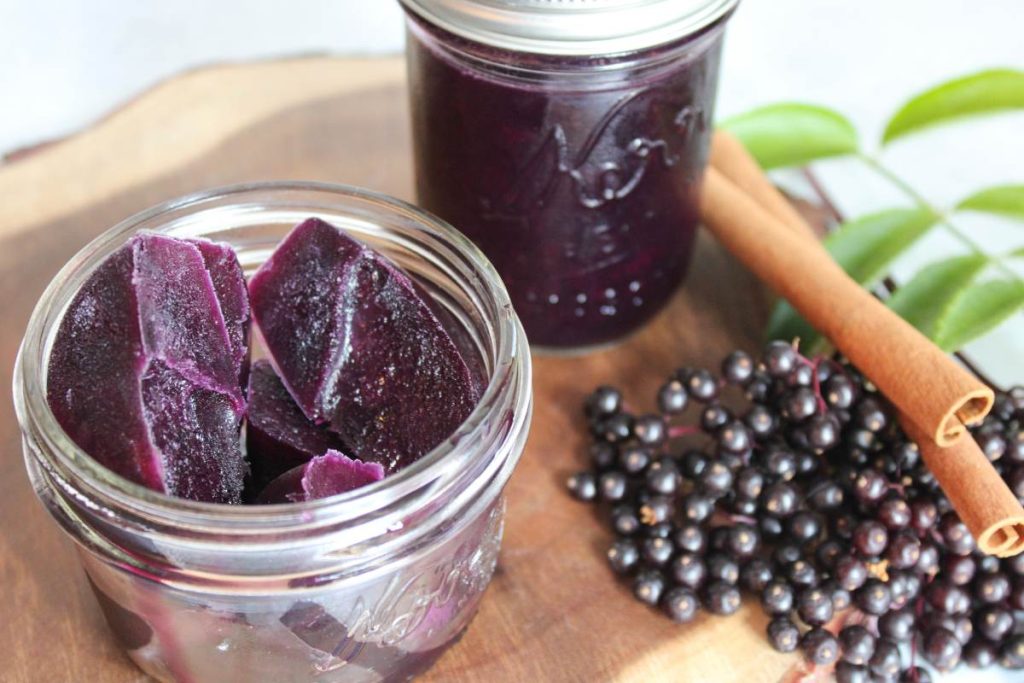
Yes, you can freeze elderberry syrup. This is the best way to store because canning can kill the beneficial properties of the raw honey added for sweetness. I recommend preparing the syrup before you actually need it and storing it for later use. There’s nothing better than already having home remedies ready when you start to feel a cold coming on.
Are raw elderberries toxic?
Raw elderberries, leaves, and bark are not safe to eat raw. They contain toxic compounds that can release cyanide. Cooking the elderberries removes the toxins and makes them safe to consume. If you are using fresh elderberries, be sure to remove any unripe berries and the stems.
Tools to make Elderberry Syrup
Fine sieve, strainer, or cheesecloth – this is needed to strain the solids from the liquid after simmering.
Ice cube trays – this is optional, but this is how I store the syrup so I can easily pull out ice cubes for individual servings.
Health benefits of raw honey
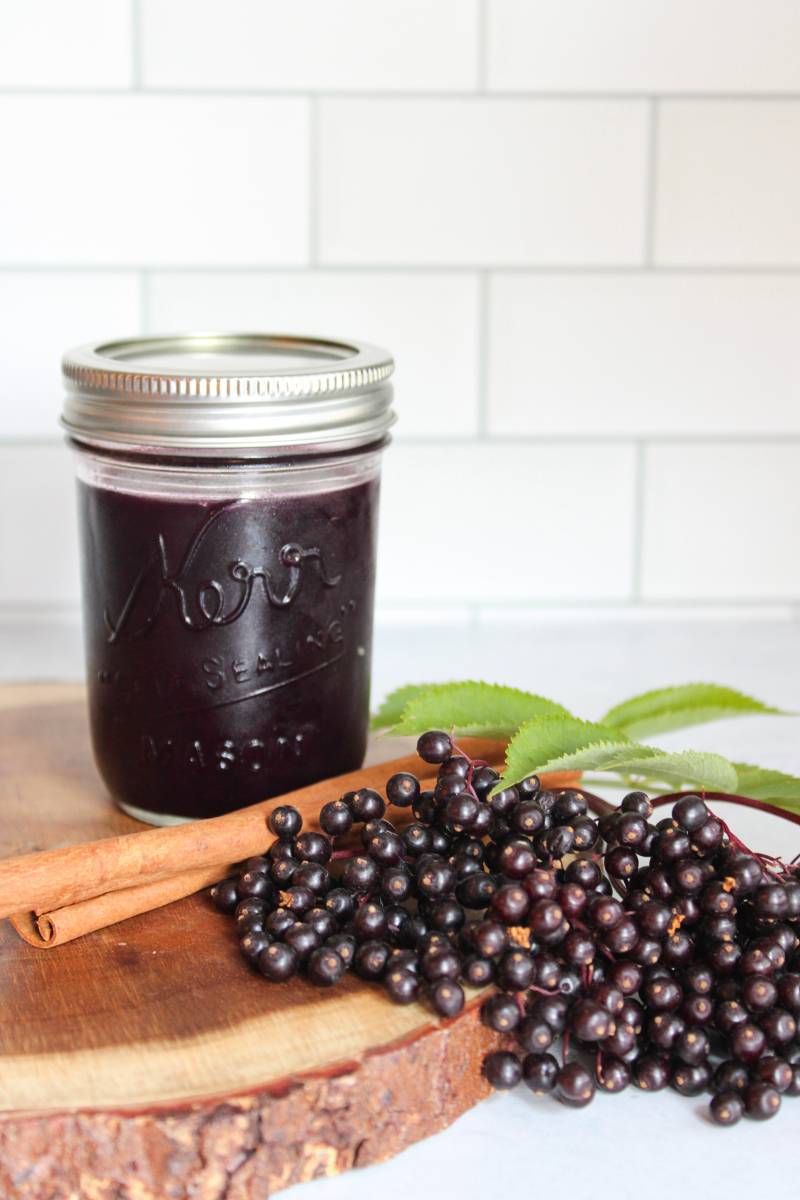
Raw honey is honey that has not been processed, heated, or filtered. It comes straight from the beehive! Raw honey has amazing health benefits, it has antibacterial and anti-fungal properties, full of antioxidants, vitamins, and minerals. If you can, source a local raw honey for this recipe. If you can only find store-bought or honey that has been processed- that’s okay! You can still use it to sweeten it, but it just will not have the added benefits.
How to process fresh elderberries
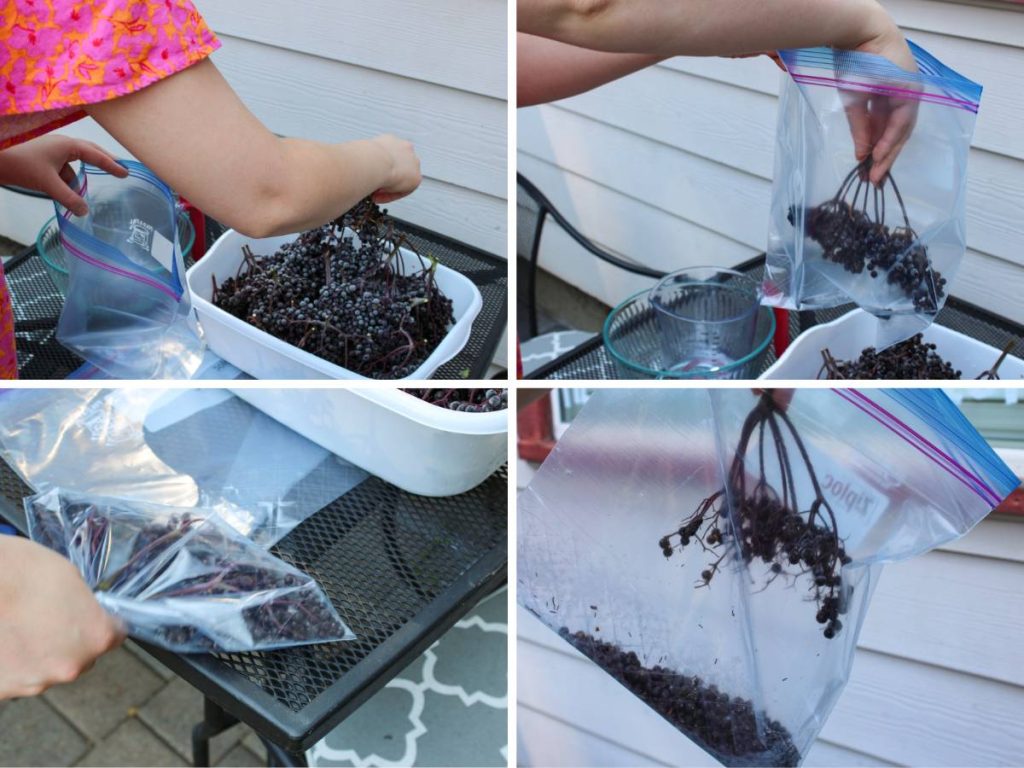
To process fresh elderberries, you can use a fork to help you take the berries off the stem so that you don’t squish them. However, the easiest way to take the fresh berries off is by flash-freezing them first. We took the elderberry bunches and washed them, let them air dry, and then put them on a cookie sheet in the freezer. After a couple of hours, you can take them out and add them to a large freezer bag. Gently hit the bag against a table or the counter and the berries will just fall right off! This allowed us to process the berries super quickly without squishing them.
Ingredients to make Elderberry Syrup
Elderberries- you can use fresh or dried elderberries to make the syrup. If you are using fresh, be sure to get as many of the stems out as possible. If you are using dried berries, I recommend using organic elderberries such as this one.
Water- Filtered water if possible
Cinnamon Sticks- this is optional, but adding a cinnamon stick or two adds a really great flavor to the syrup. Plus cinnamon has great health benefits such as antioxidants and anti-inflammatory properties.
Raw honey- If you can, try to source high-quality, local honey. If you only have store-bought honey, that’s okay! You won’t get the added benefits from the raw honey but you will still get benefits from the elderberries.
How to make Elderberry Syrup
If you are using fresh berries, rinse them and separate them from the stems. Get as many stems out as possible. It can be easier to remove the berries if you first freeze them. (see section above)
Add elderberries, cinnamon sticks, and water to a medium pot and bring to a boil over medium-high heat. Once it is boiling, reduce it to a simmer.
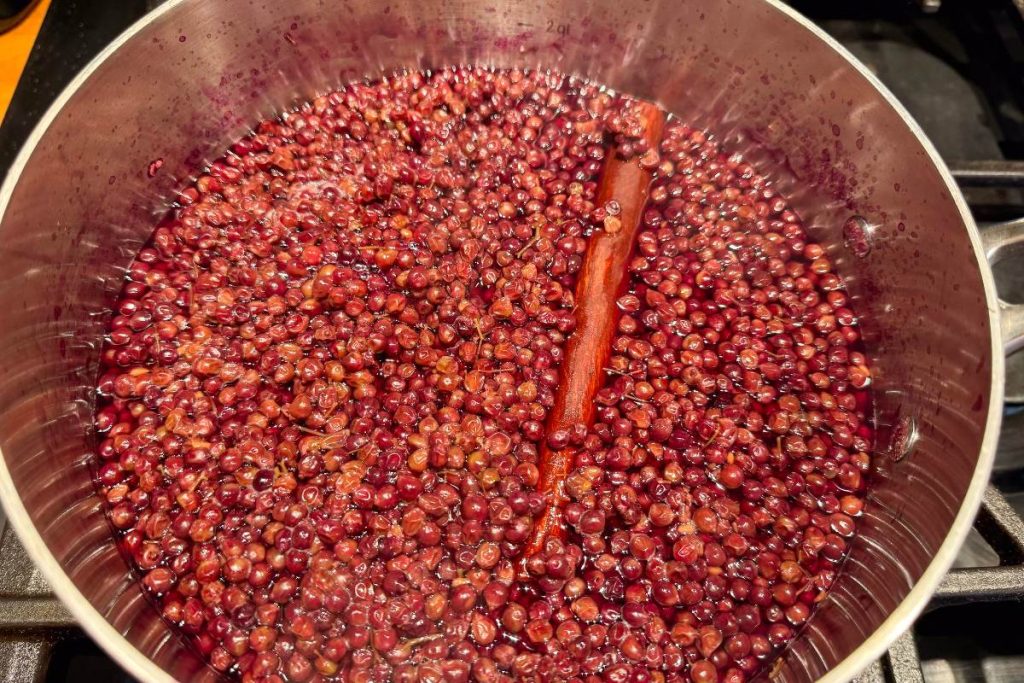
Simmer for 45 minutes to an hour with no lid, reducing it in half. Keep an eye on it and adjust the temperature if needed to ensure it is reducing properly and not too fast.
After it has reduced by half, remove it from the heat and let it sit for 30 minutes.
After 30 minutes, strain the berries through a fine mesh sieve or strainer to separate the elderberry juice. Discard the solids.
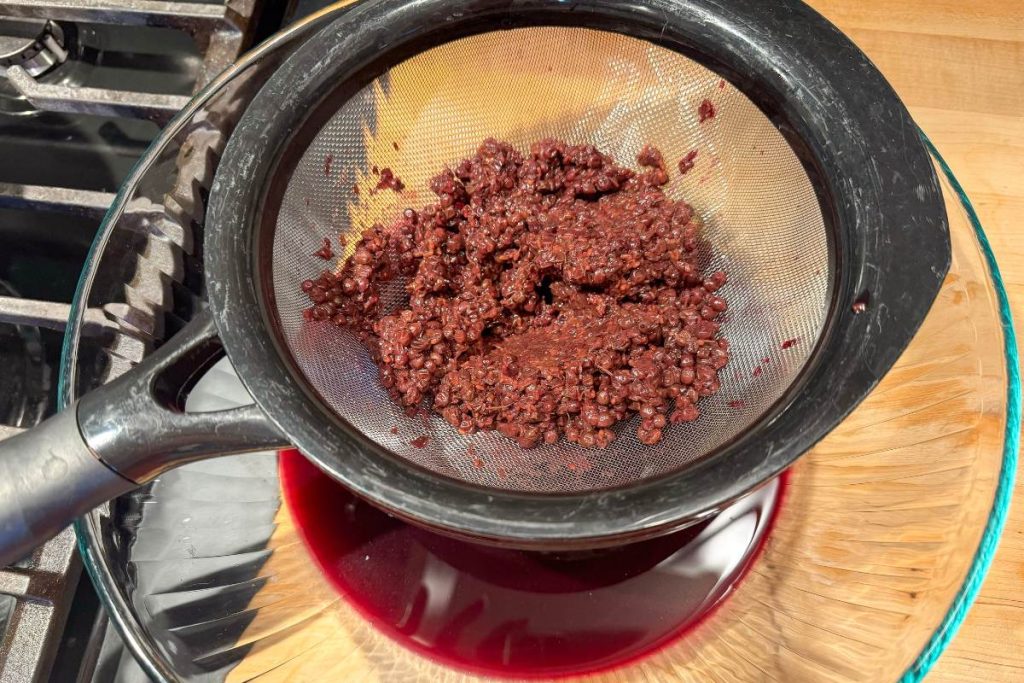
Add the juice to a bowl and then add one cup of honey. Stir or whisk until it is fully dissolved. You do not want to add in the honey too early because the heat can kill the beneficial properties of the raw honey.
If you are storing it in the fridge, add to an airtight container or 8 oz jars.
If you are freezing the syrup, let the finished syrup cool to room temperature and then add it to an ice cube tray. After the cubes are frozen you can then take them out and store them in a large freezer bag or container. If you prefer, you can also freeze it in 8 oz mason jars and let it thaw when you want to use it. Just be sure to leave enough headspace to allow for expansion when it freezes.
How to use Elderberry Syrup
Add an ice cube of the syrup to a cup of hot water or herbal tea whenever you are feeling a sickness coming on or want to boost your immune system. You can take 1-2 tablespoons 2-3 times a day whenever you feel symptoms start until they are gone. You can also take it if you were exposed to an illness, or if a family member in your house is sick.
This is not medical advice. Always consult your healthcare professional with any questions or safety.
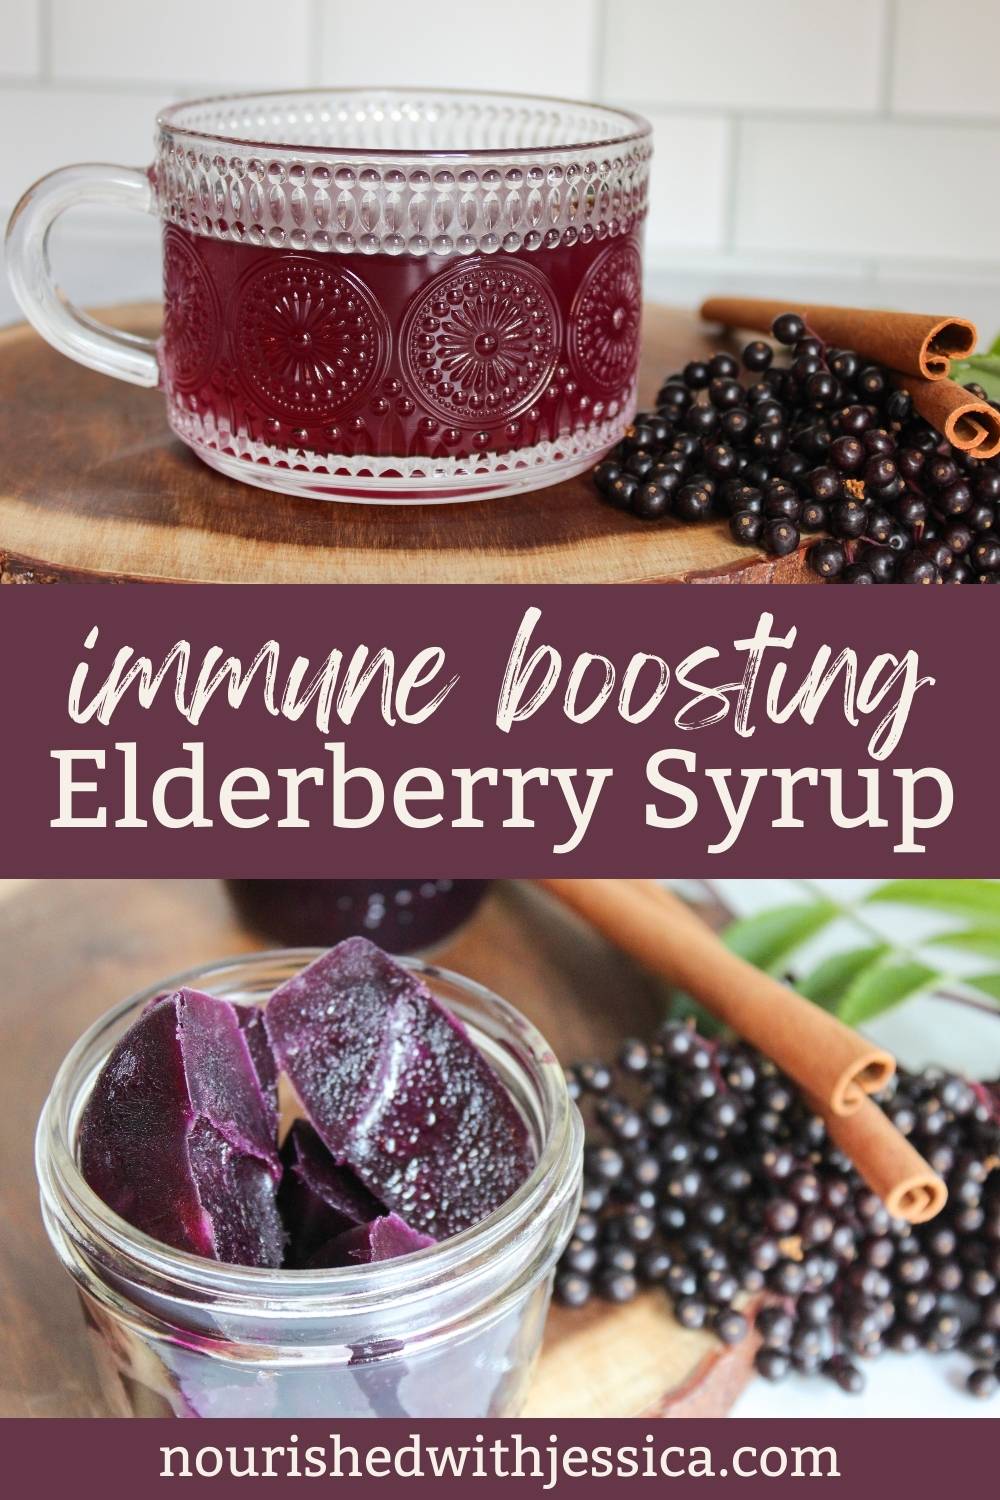
Homemade Elderberry Syrup
Ingredients
- 4 cups fresh elderberries or 2 cups dried elderberries
- 4 cups filtered water
- 1 cup raw honey
- 2 cinnamon sticks
Instructions
- If you are using fresh berries, rinse them and separate them from the stems. Get as many stems out as possible. It can be easier to remove the berries if you first freeze them. (see blog post for details)
- Add elderberries, cinnamon sticks, and water to a medium pot and bring to a boil over medium-high heat. Once it is boiling, reduce it to a simmer.
- Simmer for 45 minutes to an hour with no lid, reducing it in half. Keep an eye on it and adjust the temperature if needed to ensure it is reducing properly and not too fast.
- After it has reduced by half, remove it from the heat and let it sit for 30 minutes.
- After 30 minutes, strain the berries through a fine mesh sieve or strainer to separate the elderberry juice. Discard the solids.
- Add the juice to a bowl and then add one cup of honey. Stir or whisk until it is fully dissolved. You do not want to add in the honey too early because the heat can kill the beneficial properties of the raw honey.
- If you are storing it in the fridge, add to an airtight container or 8 oz jars.
- If you are freezing the syrup, let the finished syrup cool to room temperature and then add it to an ice cube tray. After the cubes are frozen you can then take them out and store them in a large freezer bag or container. If you prefer, you can also freeze it in 8 oz mason jars and let it thaw when you want to use it. Just be sure to leave enough headspace to allow for expansion when it freezes.
Notes
This post may contain affiliate links, which means I make a small commission at no extra cost to you. As an Amazon Associate, I earn from qualifying purchases. See my full disclosure here. I only share products that I use and love.




The ingredients says cinnamon sticks but I don’t see in the directions where/how to add it?
Hi Jenny,
Add the cinnamon stick at the beginning with the elderberries so it can simmer. Thank you for pointing that out, I just updated the recipe 🙂