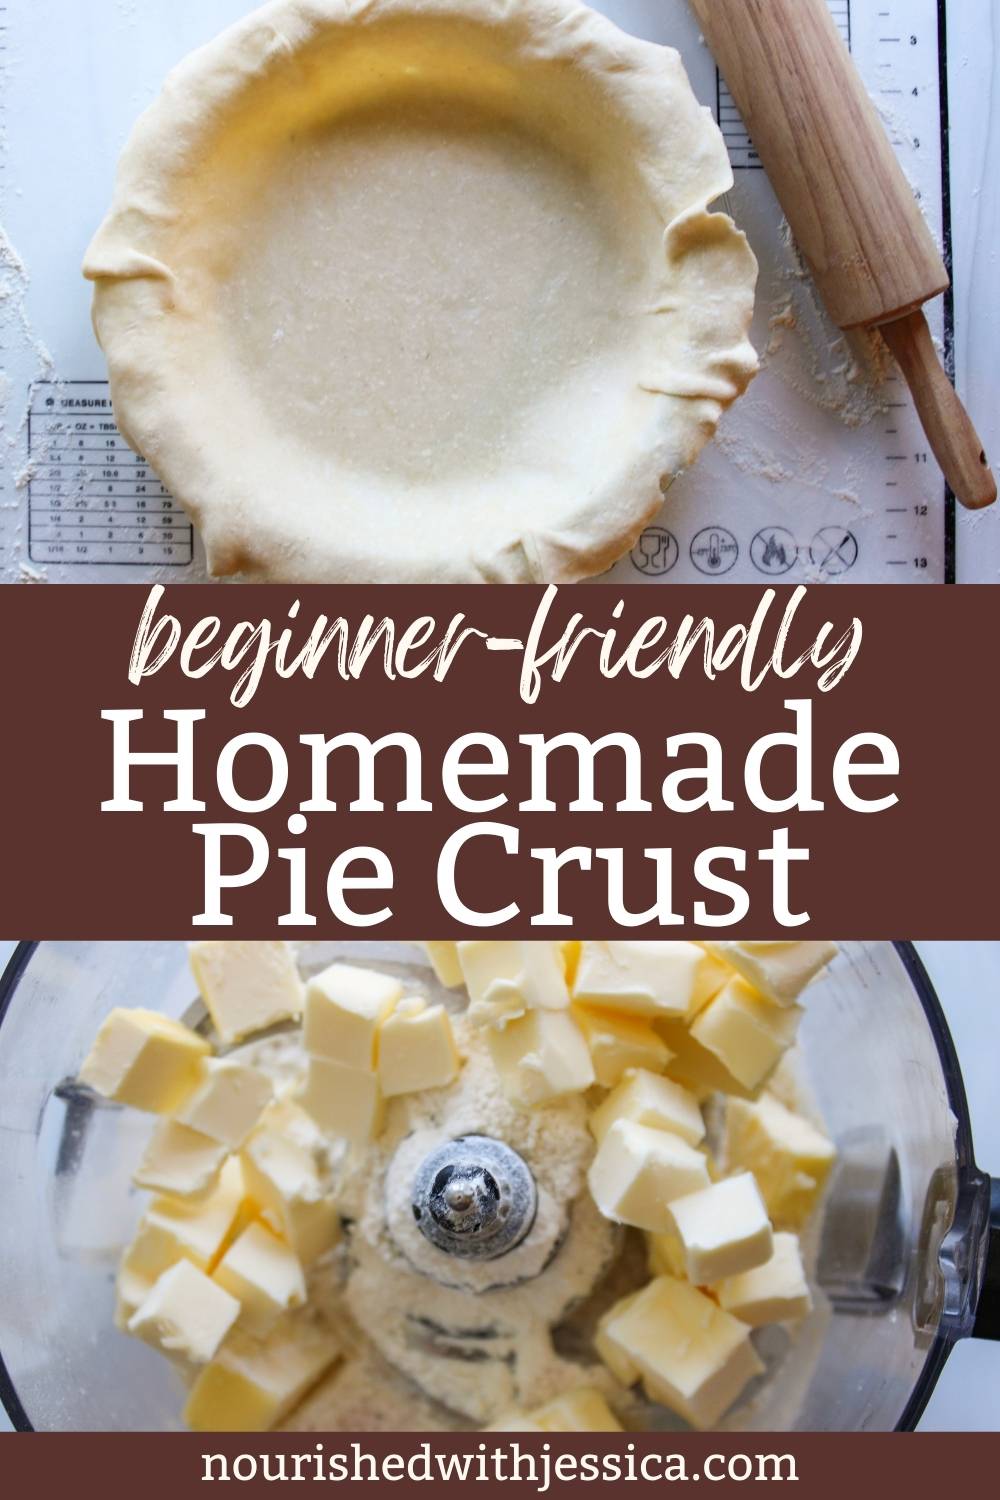
Easy Homemade Butter Pie Crust- Beginner-Friendly Recipe
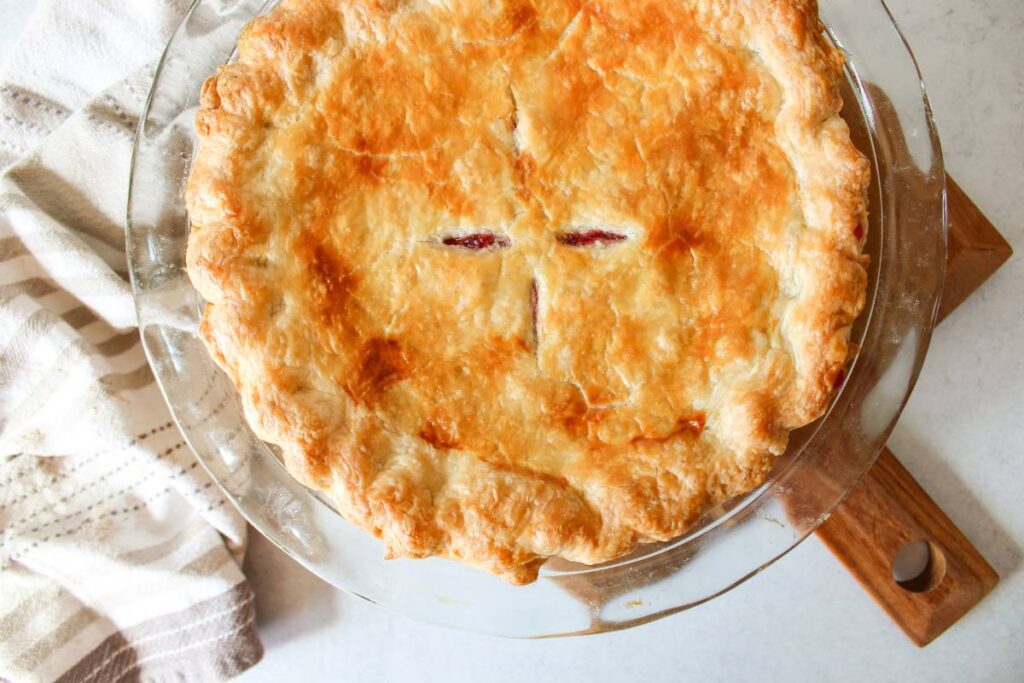
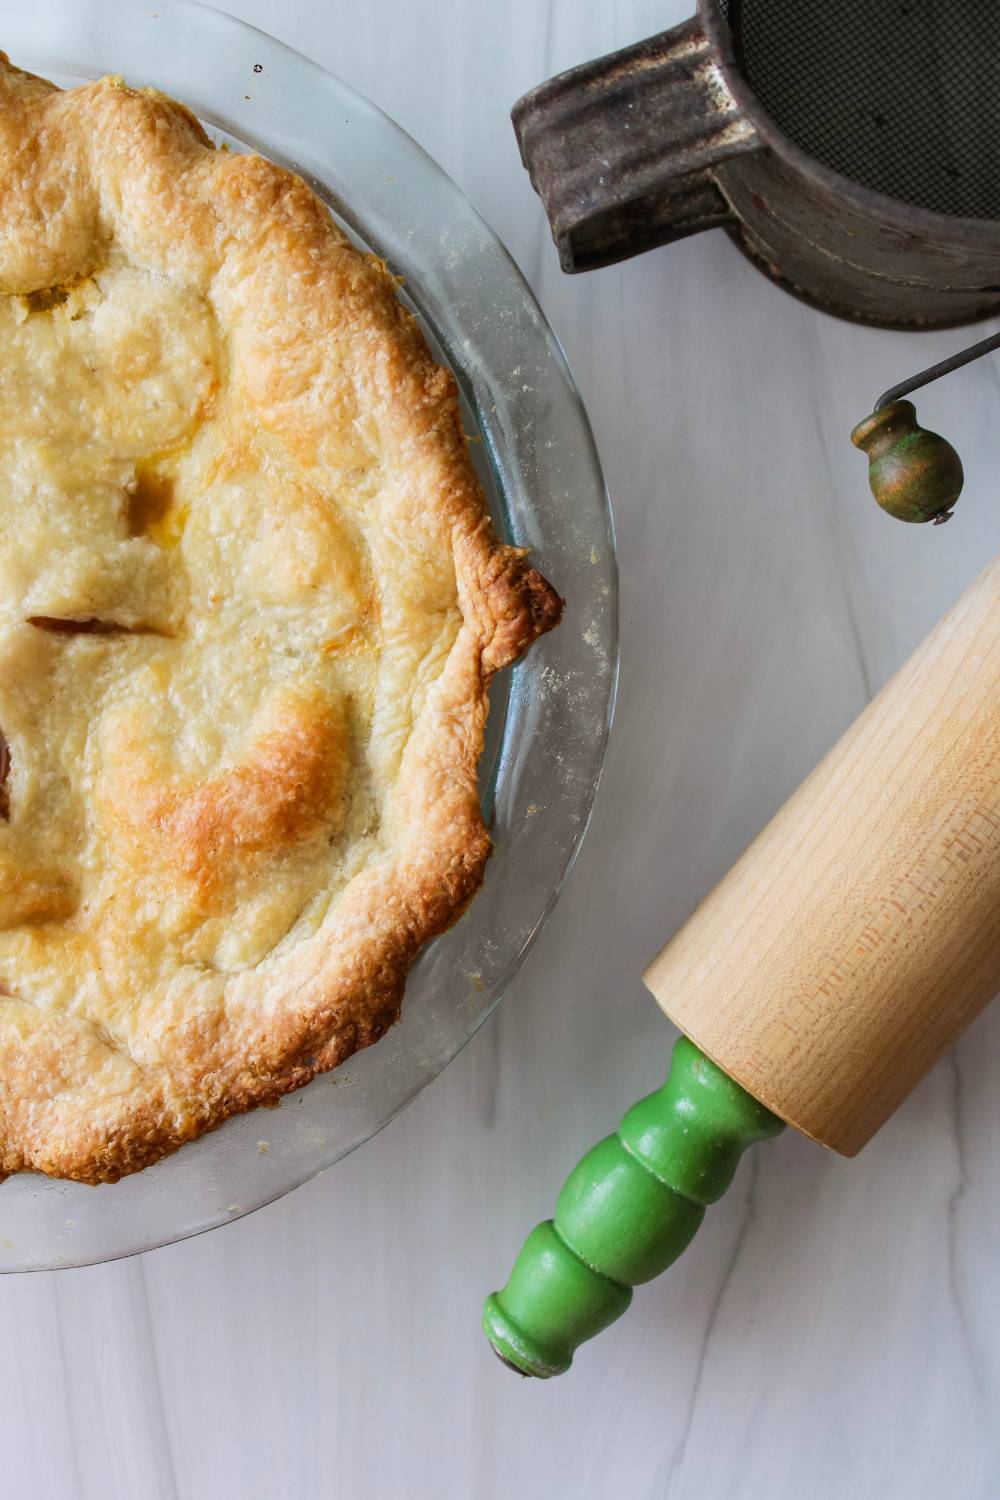
This Homemade Pie Crust recipe is made with 4 simple ingredients and is so easy to make. It is a buttery pie crust that is so flaky and delicious and will go perfectly with your favorite pie filling!
This is the perfect pie crust recipe for beginners. I promise it is so easy to make! Homemade pie from scratch was something that I really wanted to try but was really intimidated to make. But once I learned, I realized how simple it can be! With this recipe, you will make the pie crust in a food processor, making it super quick and easy. This is a recipe you will come back to time after time and use for all of your favorite types of pies!
The key to a good pie crust
This pie crust is super simple, but there is one thing that makes a huge difference and will make or break the pie crust. The most important part is cold butter. You need super cold butter! That is what helps create a flaky pie crust! Be sure to keep the butter, and the pie dough very cold. There are a few things that will help ensure that:
- Add the butter to the freezer for at least 15 minutes before making the dough
- Use ice-cold water when making the dough
- Do not skip out on refrigerating the dough after it has been assembled
- If you are adding pie filling that has been pre-cooked (to prevent soggy bottoms) let it cool before adding to the pie crust.
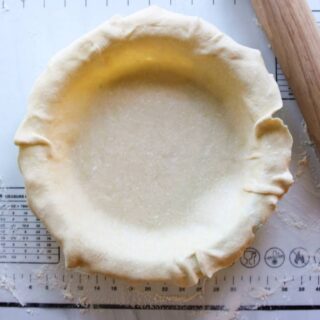
A great pie doesn’t have to look perfect
My next piece of advice to making your own homemade pie crust is to not let perfection prevent you from starting! My pies certainly are not winning any contests at the state fair for how they look. However, they taste fantastic! And let’s be honest, homemade pies baked with love and look a little imperfect will always taste better than cookie-cutter pies you can buy from the store! The hardest part about making a pretty pie is creating a pretty crust and crimping the edges, but if it doesn’t look perfect, that’s okay! I have found this video to be really helpful to learn the technique to a pretty crimped edge.
Filling for Homemade Butter Pie Crust
This pie crust is so versatile! You can use it for your fresh summer fruit pies or your favorite Thanksgiving pies. Two of my favorite recipes are this Peach Pie with fresh or frozen peaches or Sour Cherry Pie. Or, this pie crust can also be used for savory pies like this Chicken Pot Pie recipe or Leftover Thanksgiving Turkey Pot Pie recipe.
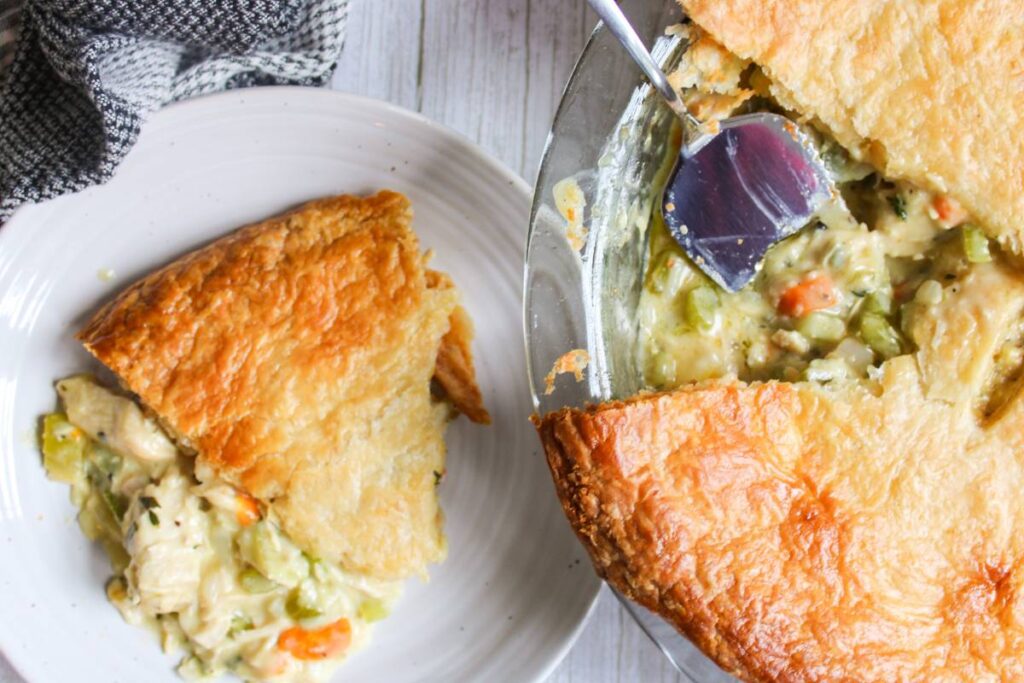
Use your Thanksgiving leftovers!
Make this Turkey Pot Pie filled with leftover turkey, vegetables, a creamy sauce and topped with a flaky pie crust.
Butter vs shortening for pie crusts
The fat used in the pie crust creates beautiful flaky layers. There are two common types used in baking: butter and shortening. There is much debate between the two types of fat with which one makes the better pie crust, but in my opinion, one option beats out the other by a long shot. The clear winner to me is butter. That is because butter is a natural fat that is minimally processed.
Have you ever looked at the ingredients on the back of a can of Crisco? According to their website, the ingredients are: Soybean Oil, Fully Hydrogenated Palm Oil, Palm Oil, Mono And Diglycerides, TBHQ And Citric Acid. Not only is it made with inflammatory seed oils, but it also contains preservatives that have been linked to health conditions. (Read more about that here.) No, thank you! Instead, I will stick with butter, which is simply made from cream, and maybe has the addition of salt.
Another great option would be to use lard, which has been used traditionally in baking for a long time (mostly before the invention of Crisco!). However, I have not experimented with making pie crust with lard because I think this recipe with butter to just be so delicious. Butter makes everything better anyway, am I right?!
Tips for success in making homemade butter pie crust recipe
- Be sure to freeze the butter before baking to ensure that it is really cold
- Use ice water to keep the dough really cold.
- It is easier to use a kitchen scale to measure the flour so that the measurements are exact. However, if you do not have a kitchen scale you can measure out the flour by fluffing the flour and leveling it out. If you just take a measuring cup and scoop it out the flour will be compacted in the measuring cup and you will end up with more flour.
- This recipe makes two round pie crusts, for the top and bottom of the pie. If you are baking a pie like pumpkin pie that only needs a bottom crust, you will have enough dough to bake two pies, or freeze the other half to use for later!
- Lightly dust your work surface with flour to prevent the dough from sticking.
Can you refrigerate pie crust overnight?
Yes! You can refrigerate pie crust overnight, or for up to 2-3 days. If you are making pies for a holiday such as Thanksgiving you can make the pie crust a day or two ahead of time so that you can cut down on the time in the kitchen and have a head start to your holiday baking. Just remove the pie crust from the fridge for 10 minutes or so to make it easier to roll out.
Can you freeze pie crust?
Yes! You can freeze pie crust as well! Sometimes I like to make a double batch and freeze half for later. Wrap the pie crust in plastic wrap and then add to a freezer bag. You can keep raw pie dough in the freeze for up to three months. When you are ready to use, add the frozen pie crust to the fridge to defrost overnight and assemble and bake the pie the next day.
Tools to make homemade pie crust
- Kitchen Scale- I recommend measuring out the flour using a kitchen scale to ensure that the measurement is exact.
- Food processor – Instead of using your hands or a pastry blender, a food processor makes assembling the pie dough so easy! This is the food processor I have, I love it because it doubles as a blender!
- Rolling Pin – to evenly roll out the dough
- Pie dish – you can use any 9-inch pie pan, but I love this one by Pyrex!
- Aluminum foil– The edges of the pie can brown quicker than the middle, so to prevent the edges from getting too dark, you can tent them with foil.
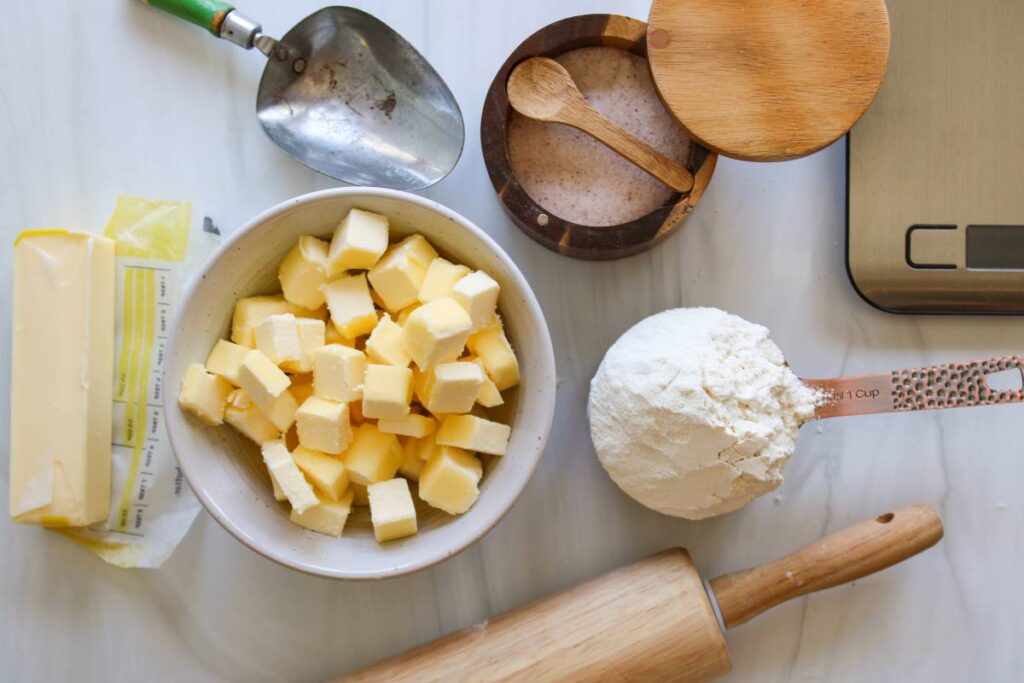
Ingredients for Butter Pie Crust
- Butter – For pie crust, I use unsalted butter to control the amount of salt added. You will need to make sure it is very, very cold for a flaky crust. So do not skip that step! In a pinch, you could substitute for salted butter but I would cut the added salt in half.
- Salt- I use Redmond Real Salt, but any type will work such as sea salt or kosher salt.
- Flour- I use unbleached, all-purpose flour.
- Ice water- You will need ice-cold water. Either use water that has ice cubes in it or get water from the refrigerator that is very, very cold to ensure that you do not melt the butter.
- Egg- Coating the top of the pie with an egg wash will help the pie turn a beautiful golden brown color.
How to make Homemade Butter Pie Crust
To make the pie crust:
First, cube the butter and then add to the freezer for 15 minutes. This will ensure that your butter stays cold when you work with it.
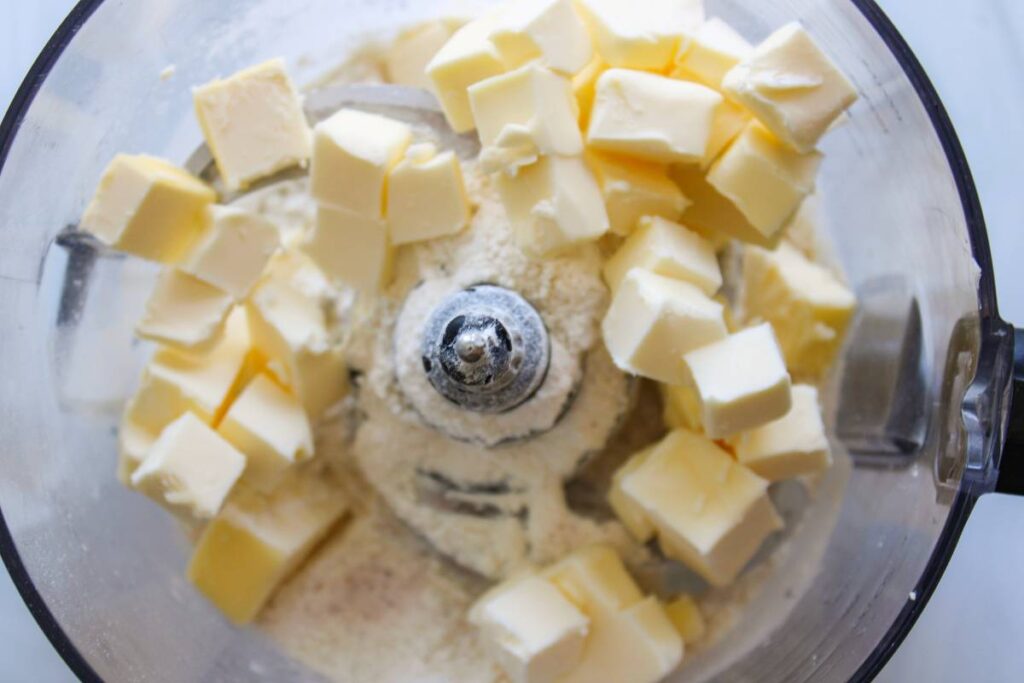
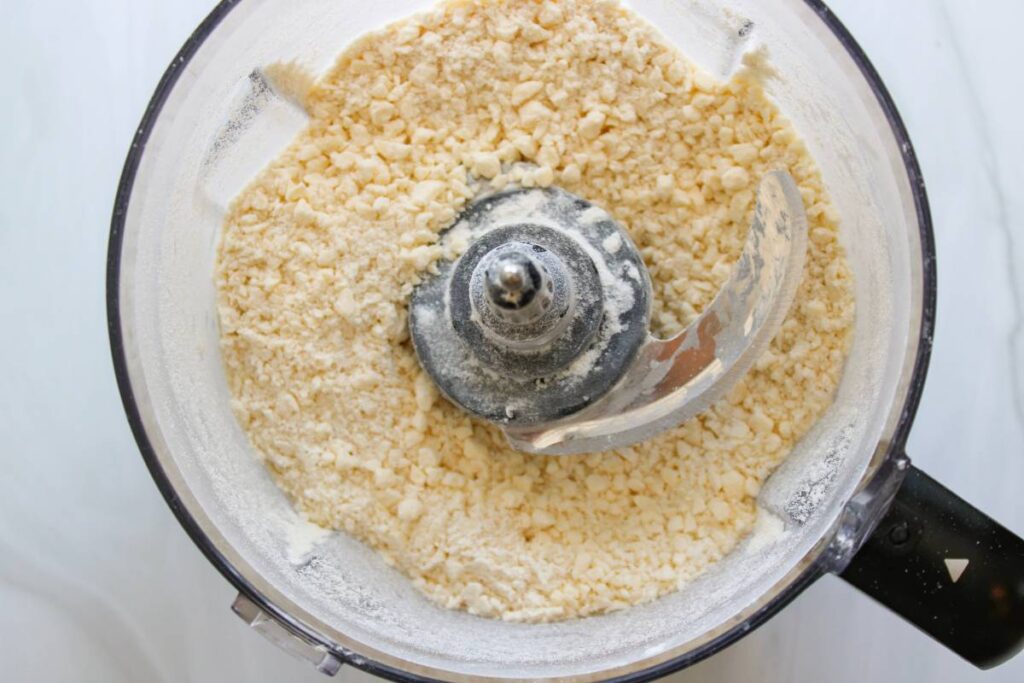
I recommend measuring out your flour using a kitchen scale so that you can ensure exact measurements. If you do not have a kitchen scale, just be sure to fluff the flour and level it off so that you don’t end up with too much flour. Add the flour, salt, and cold butter to your food processor and pulse until it resembles coarse crumbs.
Take your cold water, add about 1/3 of it to the mixture, and pulse.
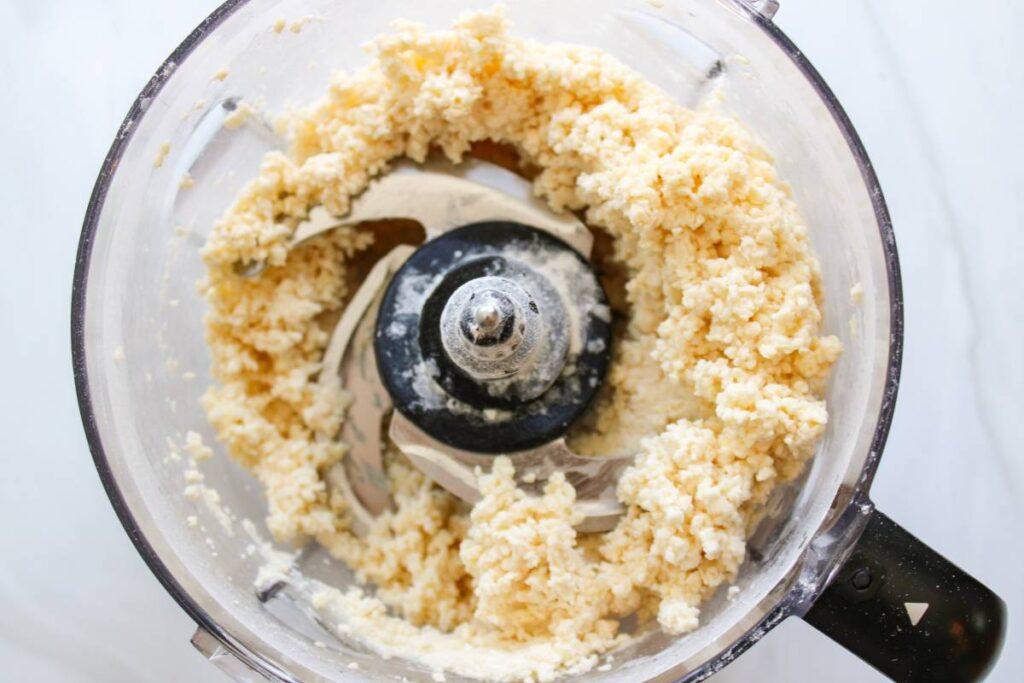
Repeat again with another 1/3 of the water and then again with the remainder. At this point, the pie crust should pull away from the sides and start to form a ball. If it still hasn’t done this, add one more tablespoon of water at a time until it pulls away from the sides. If you did not use a scale to measure the flour, you may have to adjust the water slightly to get the right texture. Watch for the dough to start to come off the edges (see photo below) to know when you have the right flour and water ratio.
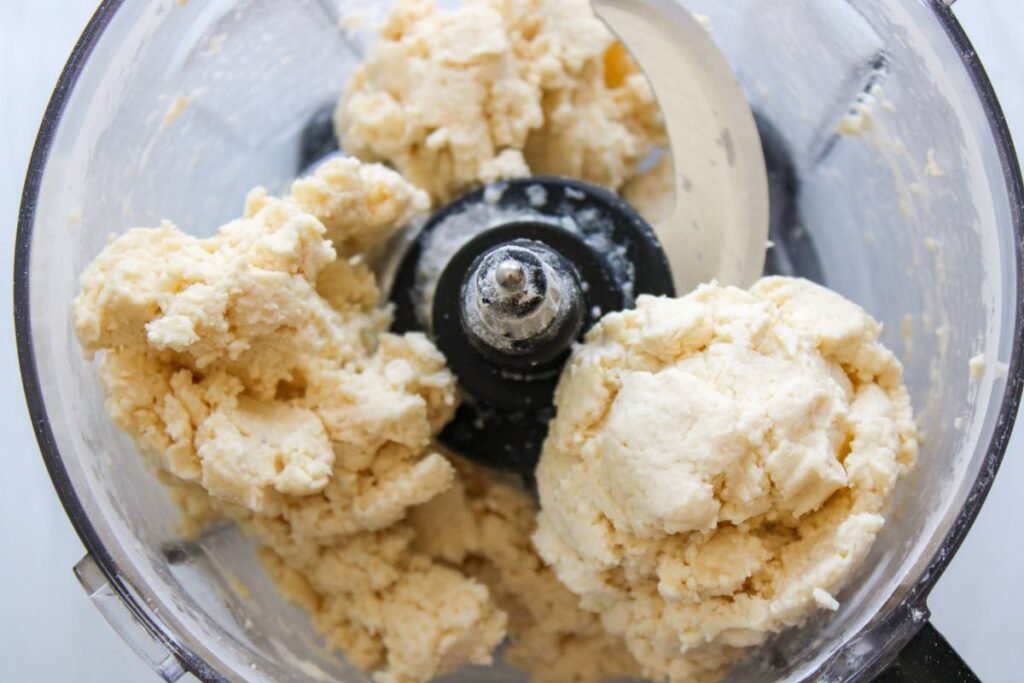
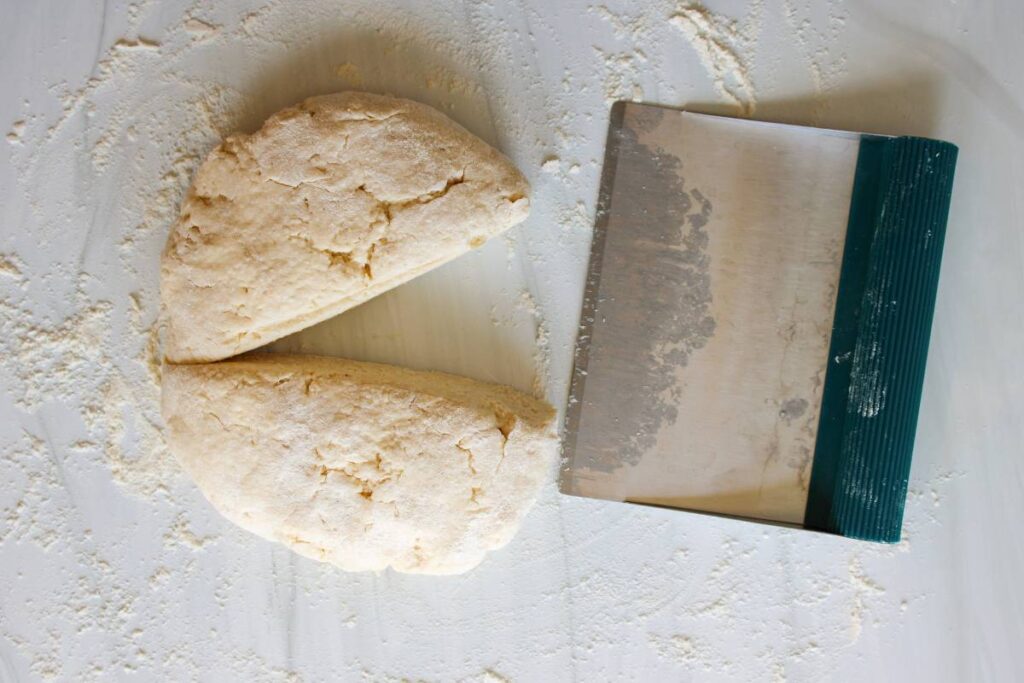
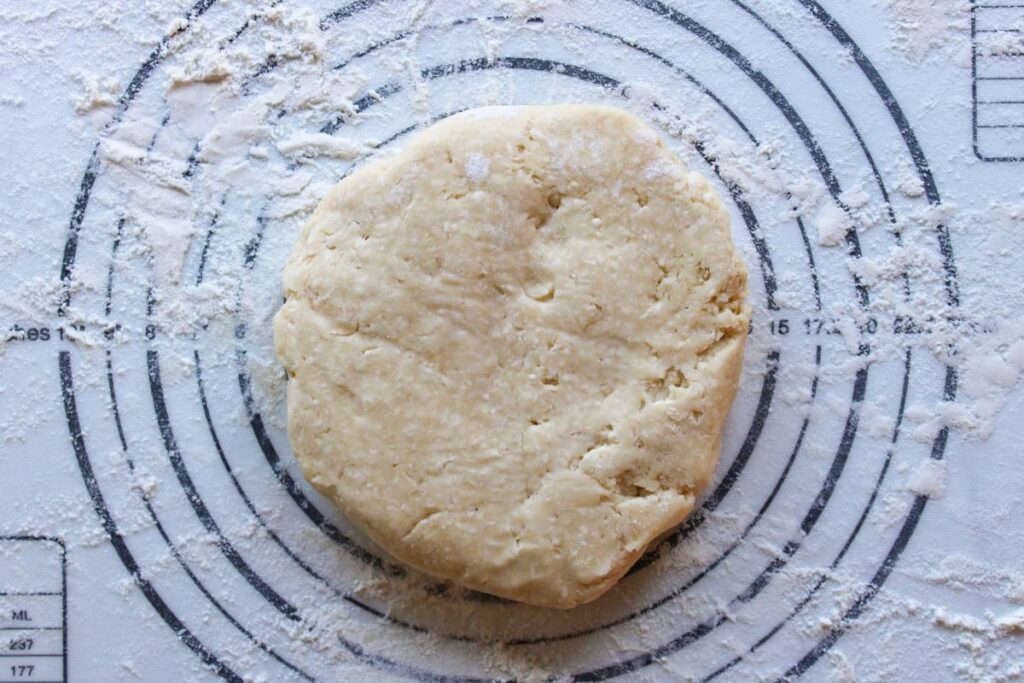
Dump the dough onto a surface with a light dusting of flour and push it together fully using your hands. Divide the dough into two equal parts and form it into a small disk shape. Cover the dough with plastic wrap or parchment paper and refrigerate for at least one hour. DO NOT skip this step because it helps ensure that the butter stays really cold which is crucial for a flaky pie crust.
To assemble the pie:
Preheat your oven to 400 degrees.
Remove the chilled dough from the fridge and let it sit for a couple of minutes so it will soften a little bit to make it easier to roll out.
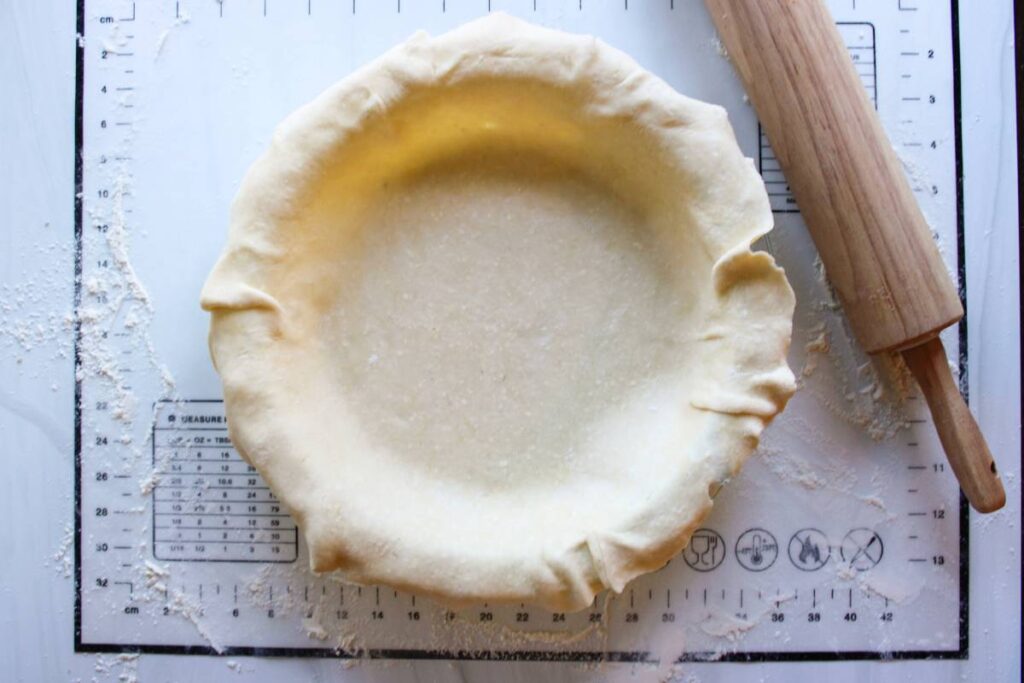
Add the dough to a lightly floured surface, and roll dough out using a rolling pin that has also been lightly coated in flour. Roll the dough out into a circle until it is about 12 inches in diameter. You want the dough to be bigger than the pie pan.
Using your rolling pin, lift the dough up and wrap it around the rolling pin and then transfer it to the pie plate, pressing it to the bottom and the sides of the pan.
Add your filling of choice to the pie.
Repeat rolling the second dough out and add to the top of the pie for the top crust.
Cut the excess pie dough off on the outside of the crust. Then, tuck the edges of the crust underneath itself to seal it up, and then crimp the edges.
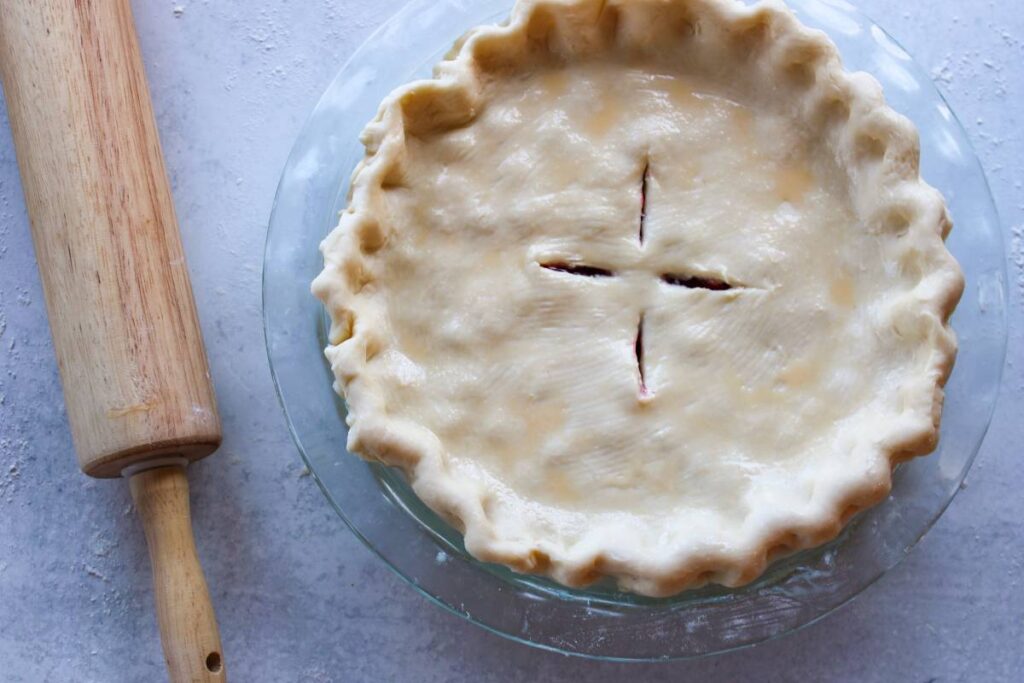
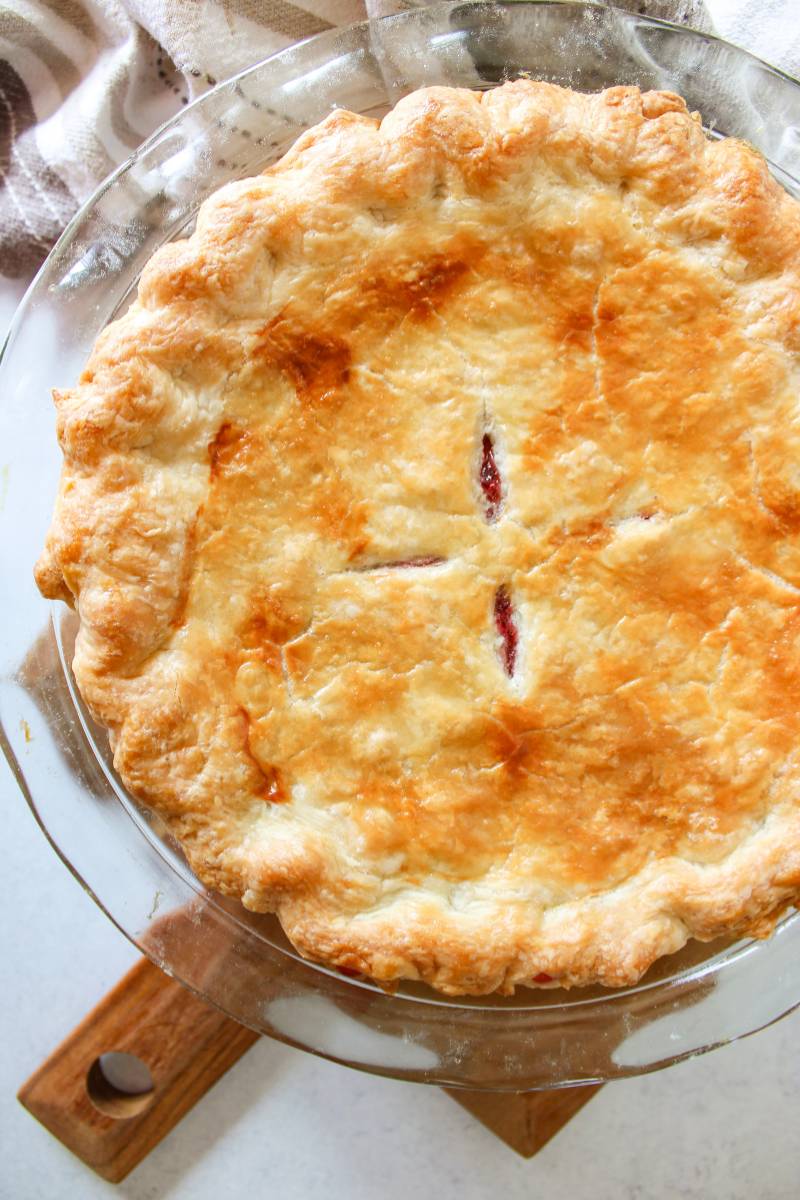
Add one egg and one tablespoon of water to a small bowl and whisk to combine. Brush the egg wash on top of the pie crust with a pastry brush. Add 4 cuts to the pie crust on top for vents to allow steam to exit the pie while baking.
Add the pie to the hot oven on the middle rack and bake for 35-45 minutes, or until the crust is golden brown and the filling is bubbling. Check the pie halfway through and if the edges are becoming too brown you can tent the edges with foil.
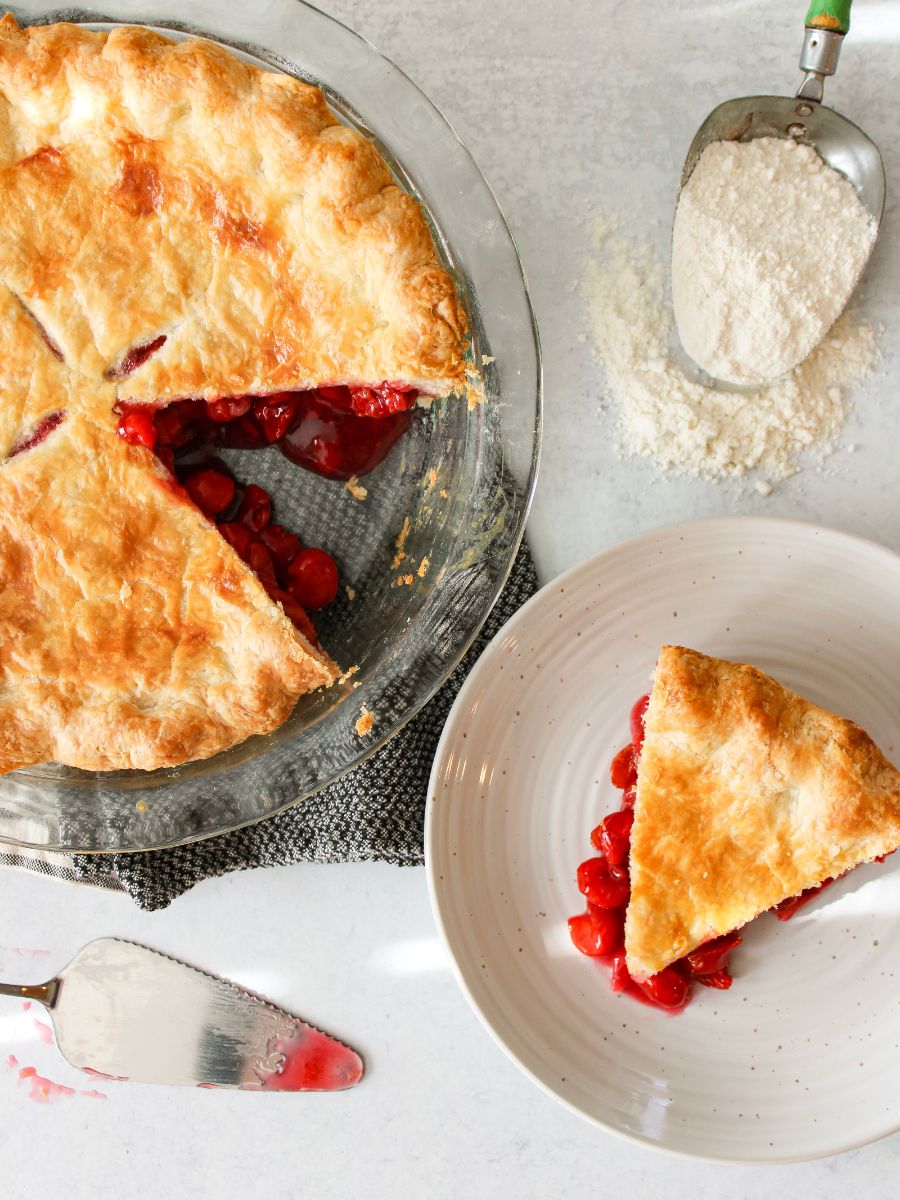
Let the pie cool and slice and serve.
How to blind bake the pie crust
When making pies such as pumpkin pie or other custard-based pies, you will want to do what is called “blind baking” or “pre-baking”. This is when you bake the pie crust before adding the pie filling to prevent the bottom of the pie crust from becoming soggy. You will need to use pie weights when blind baking to keep the dough from puffing up. The individual pie recipe should include instructions for the blend baking or this website gives more details on how to do so.
Homemade Butter Pie Crust
Ingredients
- 1 cup unsalted butter 2 sticks
- 2 ¼ cups all-purpose flour 290 grams
- 1 teaspoon salt
- ½ cup ice cold water Plus 1-2 T more
- 1 Egg
Instructions
To make the pie crust:
- Cube the butter and then add to the freezer for 15 minutes.
- Add the flour, salt, and cold butter to your food processor and pulse until it resembles coarse sand.
- Take the cold water, add about 1/3 of it to the mixture, and pulse. Repeat again with another 1/3 of the water, and then again with the remainder. At this point, the pie crust should pull away from the sides and start to form a ball. If it still hasn't done this, add 1 more tablespoon of water at a time until it pulls away from the sides.
- Remove the dough from the food processor and push it together fully using your hands. Divide the dough into two equal parts and form it into a small disk shape. Cover the dough with plastic wrap or parchment paper and refrigerate for at least one hour.
To assemble the pie:
- Preheat the oven to 400 degrees.
- Remove the dough from the fridge and let it sit for a couple of minutes so it will soften a little bit to make it easier to roll out
- Add the dough to a lightly floured surface, and roll out using a rolling pin that has also been lightly coated in flour. Roll the dough out into a circle until it is about 12 inches in diameter. You want the dough to be bigger than the pie pan.
- Using your rolling pin, lift the dough up and wrap it around the rolling pin and then transfer it to the pie pan, pressing it to the bottom and the sides of the pan.
- Pour the pie filling into the pie pan and spread it evenly.
- Repeat rolling the second dough out and add to the top of the pie for the top crust.
- Cut the excess pie dough off on the outside of the crust. Then, tuck the edges of the crust underneath itself to seal it up, and then flute the edges.
- Add one egg and one tablespoon of water to a small bowl and whisk to combine. Brush the egg wash on top of the pie crust. Add 4 cuts to the pie crust on top for vents to allow steam to exit the pie while baking.
- Add the pie to the preheated oven on the middle rack and bake for 35-45 minutes, or until the crust is golden brown and the filling is bubbling. Check the pie halfway through and if the edges are becoming too brown you can tent the edges with foil.
- Let the pie cool and slice and enjoy!
Notes
Nutrition
This post may contain affiliate links, which means I make a small commission at no extra cost to you. As an Amazon Associate, I earn from qualifying purchases. See my full disclosure here. I only share products that I use and love.